So far, we’ve identified our need and determined that this plugin is doable; planned out how we want the plugin to work, and installed a bunch of dependencies for working with Grav. One of those dependencies is Git, which allows us to keep track of our changes, and to store our code on GitHub, which will allow us to release the plugin on the Grav plugin repository.
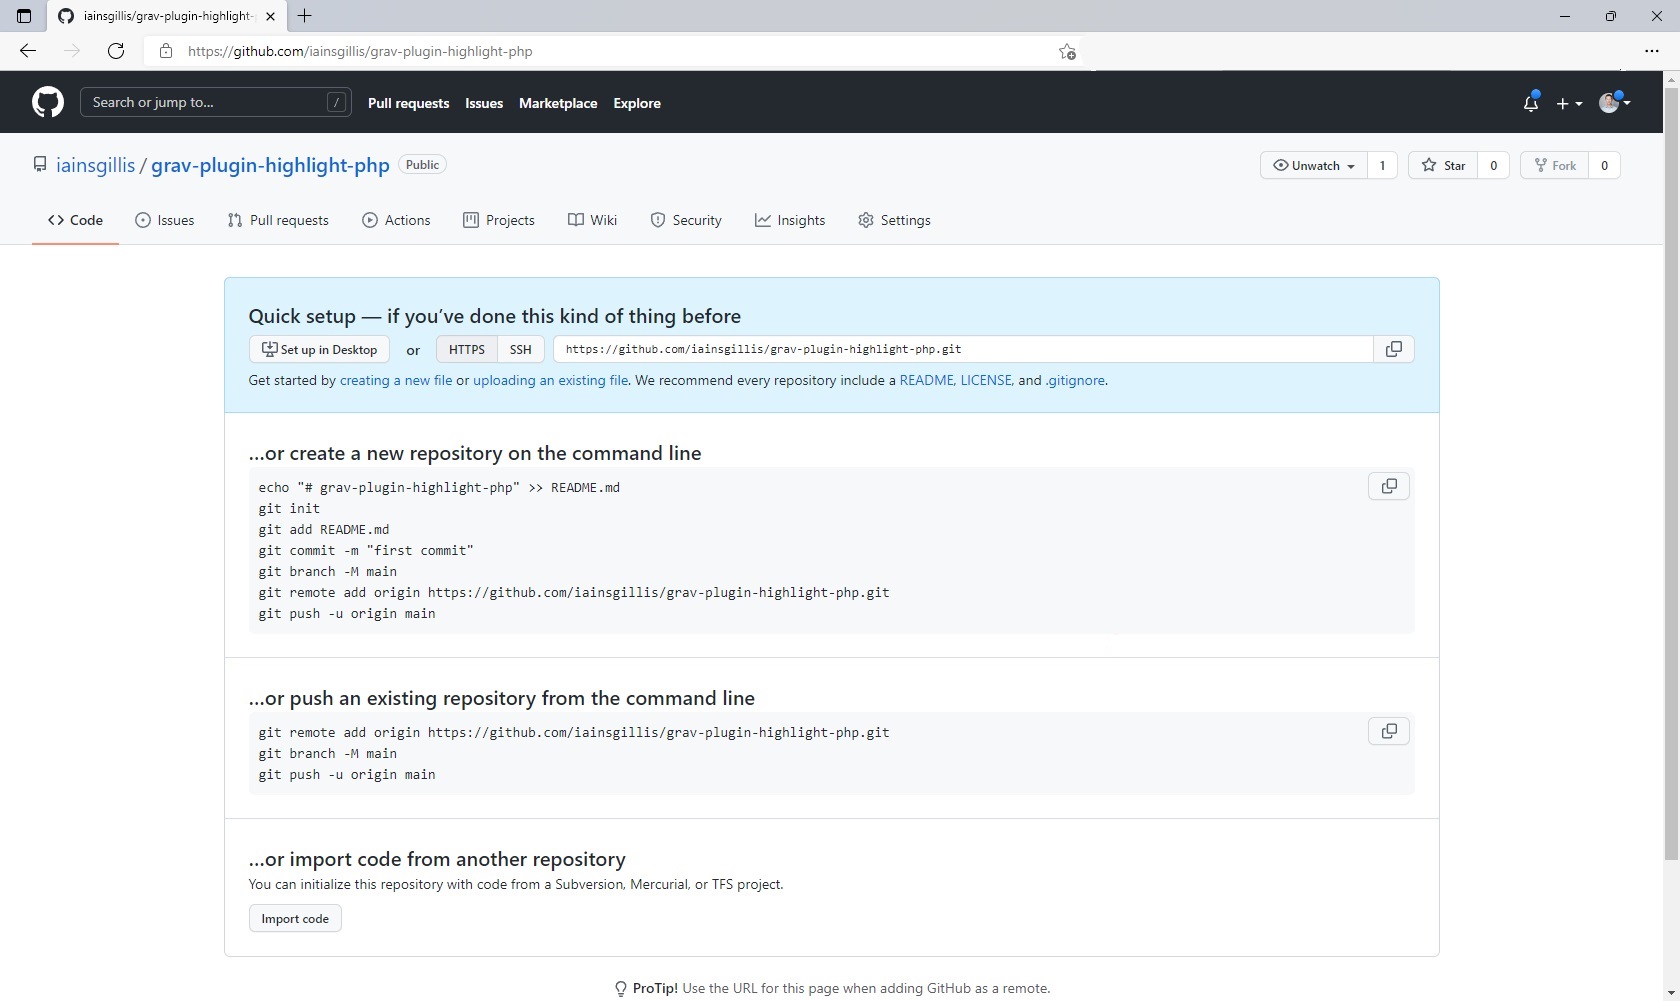
In this post, we’ll set up a new repository (‘repo’) on GitHub, connect it to our local working directory, and commit and push our work so far.This needn’t be done at this stage of the process if you prefer to develop in private.
Creating a new repo on GitHub
The procedure for creating a repo is well-documented on GitHub’s documenation site. I’m replicating the instructions they’ve got written up at GitHub Docs, with some comments specific to this Grav plugin project. If you haven’t already created a GitHub account, you’ll need to do that first, and be signed in at github.com before continuing.
- In the upper-right corner of any page, use the plus sign ➕ drop-down menu, and select New repository.
- Type a short, memorable name for your repository. We want this to match the
‘homepage’ given in the
blueprints.yamlfile that was created in part 3 when we rancomposer init. In this case, I’ll enter ‘grav-plugin-highlight-php’. - Optionally, add a description of your repository. I’ll add ‘Server-side syntax highlighting plugin for Grav CMS using the highlight.php library.’
- Choose a repository visibility. For more information, see “About repositories.” I’m leaving this as public; it will need to be public to find its way into the Grav plugin repository.
- We’ll deviate from the GitHub Docs here: the DevTools plugin has already
created a README for us, so leave all three boxes unchecked.

After completing steps 1 through 5, before clicking the ‘Create repository’ button, my form looks like this. - Click Create repository.

We’ll continue on with most of what they suggest under “… or create a new repository on the command line”.
Creating a new repo on the command line
Back in the <grav-admin>/user/plugins/highlight-php directory on your local
machine, in the same terminal you used to run 'composer, run the
following:
git init
git add .
git commit -m "initial commit"
git branch -M main
git remote add origin https://github.com/<username>/grav-plugin-highlight-php.git
git push -u origin main
Congratulations! You just set up a remote and began sharing your plugin with the world. (It doesn’t do anything useful yet — that’s coming up in the next item in this series.) From here on, the development flow will be:
- make some changes locally,
- get a meaningful set of the changes working,
- add and commit those changes, with a message describing what we changed,
- [optionally] push those changes to GitHub
- repeat.
That’s a wrap for this one. Next up: building the plugin so it does some syntax highlighting. See you there.